Pelican Tutorial with Github Pages and CircleCI - 3
Posted on 08-15-2022 in Tutoriais • 5 min read
Hi!
It’s time to continue our tutorial and put our Pelican blog on github pages!
Just in case you haven’t seen the previous posts, check here so we can follow from the same page.
To recap quickly, in the first tutorial we created a very simple site with Pelican and in the third we created a very simple page on github pages.
The current structure of your github pages directory should look something like
username.github.io/
    index.html
Well, let’s not use this html file.
In the terminal, let’s create a new branch, which will be our main branch to create all the blog texts.
git checkout -b pelican
This command will create a new branch in your local git repository and will automatically change the current branch to pelican.
Let’s delete the html file.
rm index.html
And now let’s create our blog. We need access here to the pelican-quickstart command that we used in the pelican tutorial, so, in an environment that contains the pelican (may be the same one we used in the pelican tutorial), type the command:
pelican-quickstart
This time we are not going to stick to the default parameters. Adapt the choices I show below to your project.
> Where do you want to create your new web site? [.]
# Simply press `Enter` to use the default option.
> What will be the title of this web site?
# If you have a name for the blog, it goes here, otherwise, username.github.io might be a good idea
> Who will be the author of this web site?
# Here will be your name
> What will be the default language of this web site? [en]
# `pt` is not a valid option, so use `pt_BR`
> Do you want to specify a URL prefix? e.g., https://example.com (Y/n)
# Here answer `y` and then the url of your blog (https://username.github.io for example)
> Do you want to enable article pagination? (Y/n)
# I always think it's a good idea to have pagination, so `Y`
> How many articles per page do you want? [10]
# Here I also recommend the default, `Enter`
> What is your time zone? [America/New_York]
# Use here what makes the most sense to you
> Do you want to generate a tasks.py/Makefile to automate generation and publishing? (Y/n)
# This is the most important part. The answer here is YES! `Y`
> Do you want to upload your website using FTP? (y/n)
# We don't want to, so `n`
> Do you want to upload your website using SSH? (y/n)
# Even here, `n`
> Do you want to upload your website using Dropbox? (y/n)
# Here, `n`
> Do you want to upload your website using S3? (y/n)
# Here, `n'
> Do you want to upload your website using Rackspace Cloud Files? (y/n)
#And here, `n`
> Do you want to upload your website using GitHub Pages? (y/n)
# We want to use github pages so the answer here is `y`
> Is this your personal page (username.github.io)? (y/n)
# And yes, it's the personal page, so `y`
We’re going to need the Python lib that interacts with github pages so let’s install it:
pip install ghp-import
In case we need to edit this repository in another location, another environment, let’s create a requirements.txt file that will contain
ghp-import
pelican[markdown]
This allows us to easily install dependencies in the future with the command
pip install -r requirements.txt
Once again you should have a file structure within your repository that looks like this:
content/
pelicanconf.py
publishconf.py
requirements.txt
Let’s take a look at the pelicanconf.py file
1 2 3 4 5 6 7 8 9 10 11 12 13 14 15 16 17 18 19 20 21 22 23 24 25 26 27 28 29 30 31 | |
We may remove links and add more relevant links. We can also add links to social networks. Let’s add a URL for when we are running the blog in development mode to see how the post is doing, for example.
In SITEURL enter 'http://localhost:8000'.
Now let’s create a post in content and we can call it for example first-post.md
Your file structure will be
content/
    first-post.md
pelicanconf.py
publishconf.py
requirements.txt
In first-post.md write:
Title: First Post
Date: 2022-08-14 12:30
Category: General
Tags: General
Slug: first-post

# Hello!

this is my first post

This is a [link](#)

It's very __easy__ to create posts with _Pelican_!
Here we have the structure of a very simple post, with basic metadata and an example text that exemplifies some Markdown markup.
Let’s test it on the test server.
pelican -l -r
--- AutoReload Mode: Monitoring `content`, `theme` and `settings` for changes. ---
Serving site at: http://127.0.0.1:8000 - Tap CTRL-C to stop
[04:22:41] WARNING Watched path does not exist: /path/to/username.github.io/content/images


-> Modified: settings, content, theme. re-generating...
Done: Processed 1 article, 0 drafts, 0 hidden articles, 0 pages, 0 hidden pages and 0 draft pages in 0.06 seconds.
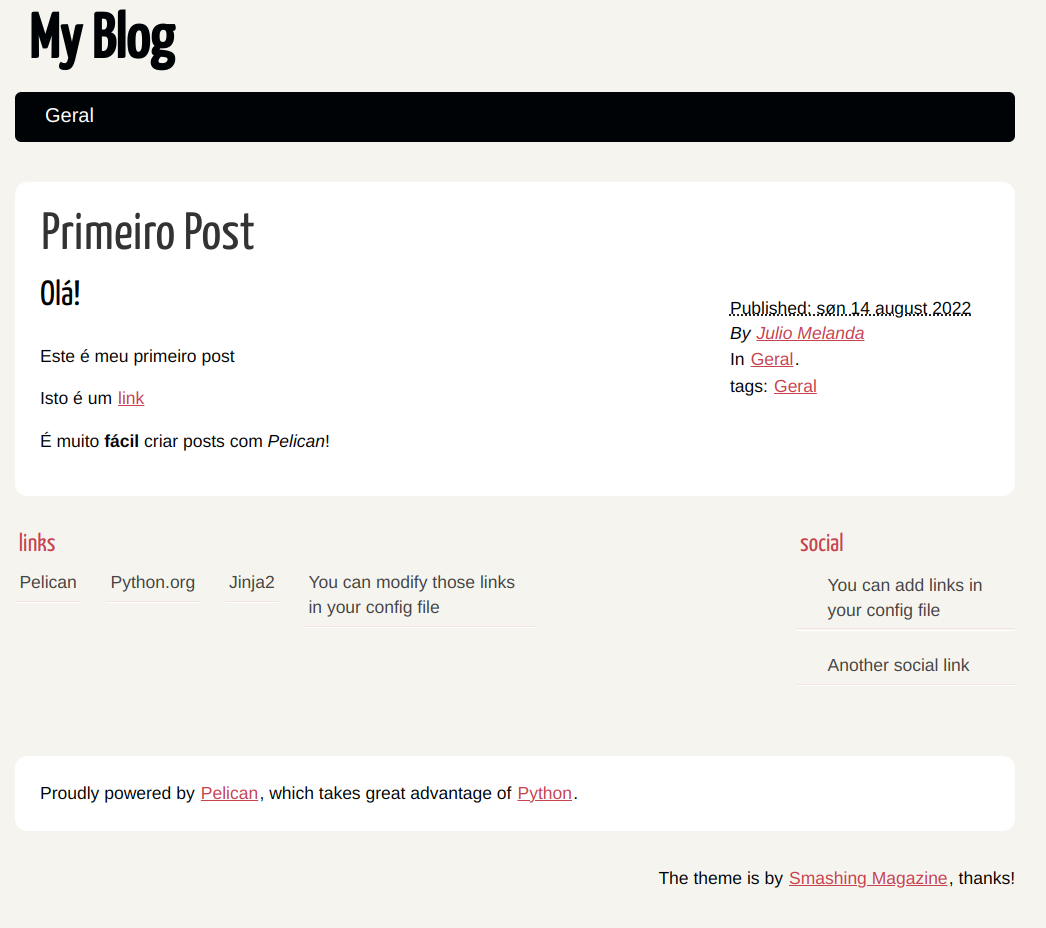
Go to the local server and you should see something like this:
To continue, you need to have make installed. As the installation of make is more annoying on Windows, follow a make tutorial on Windows.
We can use make for many tasks.
To run a development server we can use
make devserver
We can simply generate the files for deploy with
make publish
And to upload to github, let’s use:
make github
However, before we upload our project to github pages, let’s check the configuration of the blog for publishing. Open the publishconf.py file. It should have approximately this content:
1 2 3 4 5 6 7 8 9 10 11 12 13 14 15 16 17 18 19 20 21 | |
In a few moments you will be able to access your site username.github.io and see your blog live!
When writing new posts, simply run make publish and make github and in a few moments your post will be live!
That’s it for an hour! I’m sure you’ll have a lot of fun with your blog and you’ll be able to start posting whatever you want!
Don’t forget, when you’re done making changes to your blog, to commit the changes to the pelican branch as well.
git add .
git commit -m "a message of what was done"
git push origin pelican
So you don’t run the risk of losing your changes and you always have control over the versions of the texts that I’m going to publish!
In the next post we’ll slap this blog to have more functions, like comments, for example.
Hope you liked it and don’t forget to leave your opinions and questions in the comments!
See you in the next post!