Pelican Tutorial with Github Pages and CircleCI - 2
Posted on 08-08-2022 in Tutoriais • 2 min read
Hello!
It’s time for us to continue the tutorial on how to publish your blog with Pelican, Github Pages and Circle CI like I did, and in case you’re getting here now, check out our previous tutorials
Today we are going to talk about Github Pages.
Github Pages is a free feature of Github that allows you to create a static website for your profile or projects. Usually these sites will have a URL like user.github.io or project.github.io. However, you can also put your own domain, as I did here.
For this tutorial, we’re going to use github pages for your user, so create a repository called username.github.io, where username is your username.
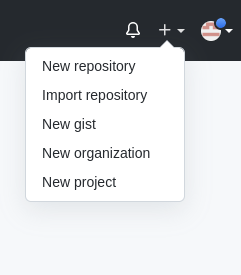
In the upper right corner of the site click on the + and select New Repository. The name must be in the form username.github.io, as said above.

Now, let’s clone the repository. If you’ve never used git or github before, the tutorial listed above is essential to continue.
Copy the SSH link to clone your repository, and run the command:
git clone git@github.com:username/username.github.io
This will create a folder called username.github.io.
Enter the folder, and we will create a file called index.html, and this will have the following content:
1 2 3 4 5 | |
Next we will commit and push this file to our repository.
git add .
git commit -m "first commit"
git push origin main
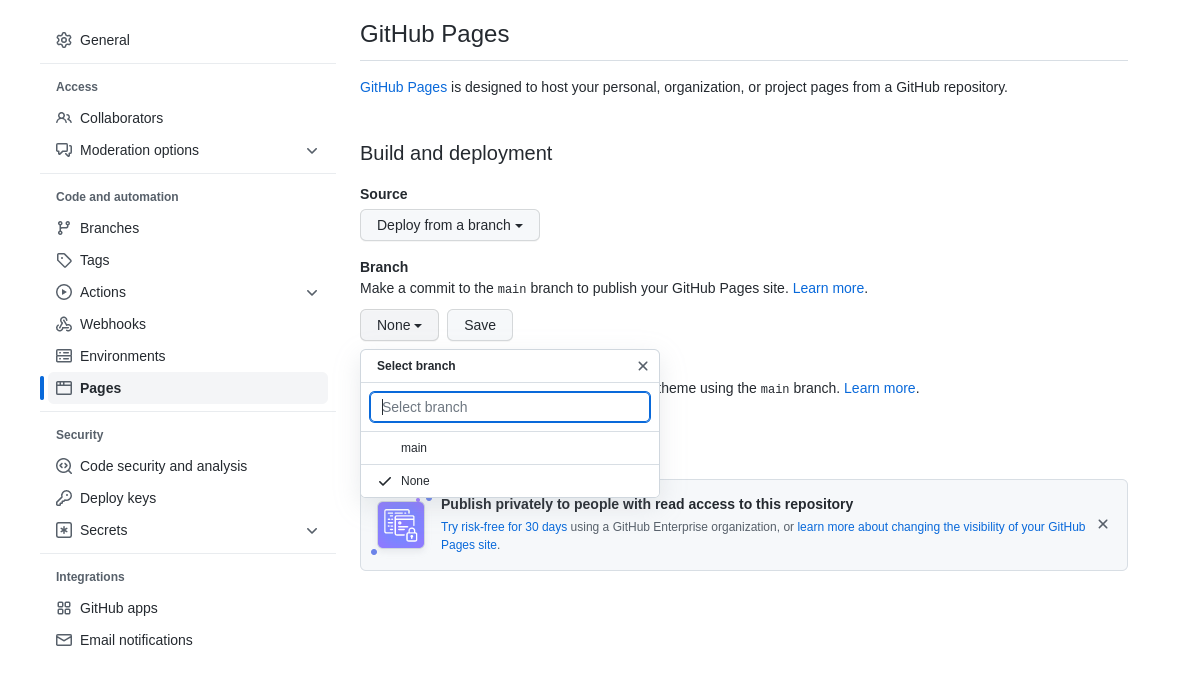
Now on github, on your repository page, let’s click on Settings.

In the side menu, in the Code and Automation section select Pages. Then in Branch select main.

Click on the Save button.
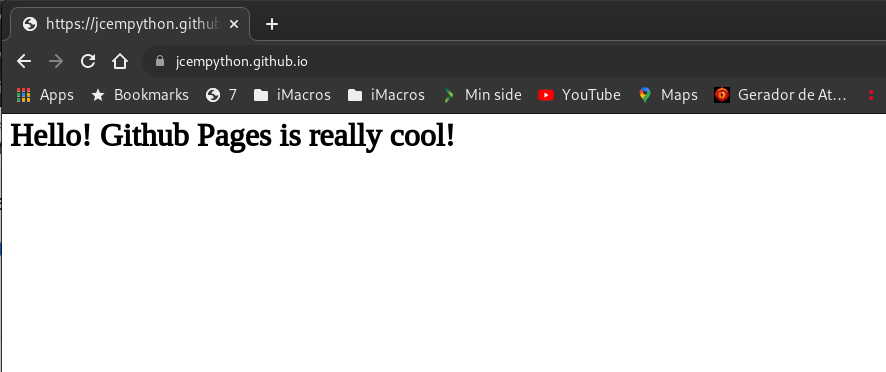
Wait for a while, usually less than 1 minute, and your Github Pages page will be live! Very easy, no?

In the next post we will join Pelican and Github Pages and we will be closer to having our blog ready to publish :D
I hope you liked it and don’t forget to leave your opinions and questions in the comments!
See you in the next post!